Post Disclaimer
101 Generator is supported by its audience. When you purchase through links on our site, we may earn an affiliate commission. Learn more

How To Make A 30 Amp Generator Extension Cord?
Power cords are as much needed as the gadget in the question itself. No matter if you are using a smart TV or a heavy-duty industrial appliance, a power cord is a must-have for running it. The same goes for power generators.
If you plan on utilizing a power generator you need to have its cord ready. When at home you can place your generator near the power supply point and thus may not need extension cords.
But when out on journeys in your RV or outdoor sites, an extension cord is the basic necessity for utilizing your power generator.
The extension cord is not a scarce item and you can very conveniently find some great 30-amp extension cords at all major online outlets dealing in electric gadgets and generators. You can also get some quality extension cords from amazon and Walmart.
But the ready-made extension cords are designed for standard use and are not custom-made. They may not suit your generator leaving it at disadvantage than giving some advantages. So what should be done to counter these disadvantages? Well, the best solution could be a custom-made 30 amp extension cord.
If you don’t know where to get your custom 30 amp cord, you can make one for yourself. It is not a very rigorous process that requires you to have some technical expertise but is a simplistic process that you can systematically follow to get your task done.
So, let’s head out for the procedure to know How to make a 30-amp generator extension cord
How To Make A 30 Amp Generator Extension Cord
Step 1: Collecting The Tools
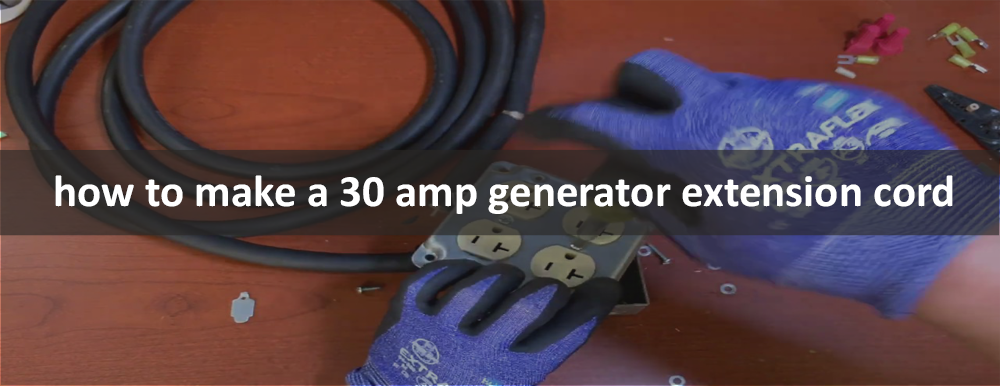
Designing and making your 30 amp extension cord 10 AWG can be considered one of your DIY projects and like all other DIY projects, this one needs its specific instruments and tools to get the job done.
The things you will need to make a 30 amp generator extension cord are enlisted below:
- Extension cord (10 Gauge Wire)
- 4 X 4 square box (square covered)
- 2 X Receptacles
- Screwdriver
- CGB connector (cord strain reliever)
- Male Plug
- Gloves
- Knives
- Scissors
- Electric tape
- Pliers
Step 2: Making A Hole In Squared Box
After you have collected all the aforementioned tools and instruments you can start making a 30 amp generator extension cord by pooping a hole in the square box. To make a hole in the box you would have to use the plier and this justifies its need.
Step 3: Stripping The Cord
Take out your extension cord and with the help of a plier strip it. You would have to strip it at a point 6.3 cm away from the end. You need to give your utmost attention to measuring the cord and strip it exactly at the 6.3 cm mark to prevent cutting it unnecessarily.
While stripping the extension cord, you can make use of the scissors to cut the extra wires that are no longer required for use. You would have some basic idea about the ground, live and neutral wires.
If you can’t distinguish between these wires, you can watch a video tutorial to know how to discriminate between them and cut unnecessary wires. For cutting these wires you would have to use the scissors and not the plier.
Step 4: Putting CGB Connector On The Square Box
The hole made in the square box is to house the CGB connector and to do so, you have to put it above the squared box and put it inside the hole made. To keep it in the fixed position you can use the channel lock plier. After locking the CGB connector on the squared Box you would have to insert the wires in the CGB as instructed on it and then lock the wires as well to keep them fixated.
Step 5: Stripping Wire To Two Grounds
Now take out the wires inserted in the CGB connector and strip it with the help of a plier to make two grounds for it. You have to be extremely careful in stripping the wire at this stage to prevent unnecessary cutting.
Step 6: Fixing The Stripped Wires
After stripping into two grounds, fix the wires onto the CGB-connected square box. This can be done by wire nuts or even your fingers. You simply have to put the wires on top of the CGB connector that is inserted inside the squared box.
You can tighten the wires together by using a screwdriver and then fix them at the right spot using the tape. This fixation is carried out by using electric tape.
Step 7: Fixing Receptacles to Squared Box
After securing the wires on the squared box, it is time to put the receptacles on it. Take out your receptacles and remove the screws on the bottom of them with the help of a screwdriver.
Now put them on the cover of the squared box and lock them by inserting the screws that were previously removed.
Step 8: Connecting To Male Plug
The last step in making your 30 amp extension cord is to connect the wires to a male plug. The process is very simple like the one mentioned just above. Remove the screws from the male plug.
Connect the end of the stripped wire to the male plug and then insert the screws again to lock the wires in their position.
In this way, the power circuit is completed and your extension cord is ready. You can plug one end into the generator power outlet and the other one directly into the power supply line to counter the distance between the two ends.
Bottom Line:
Related Articles:
